Follow Me On Social Media!
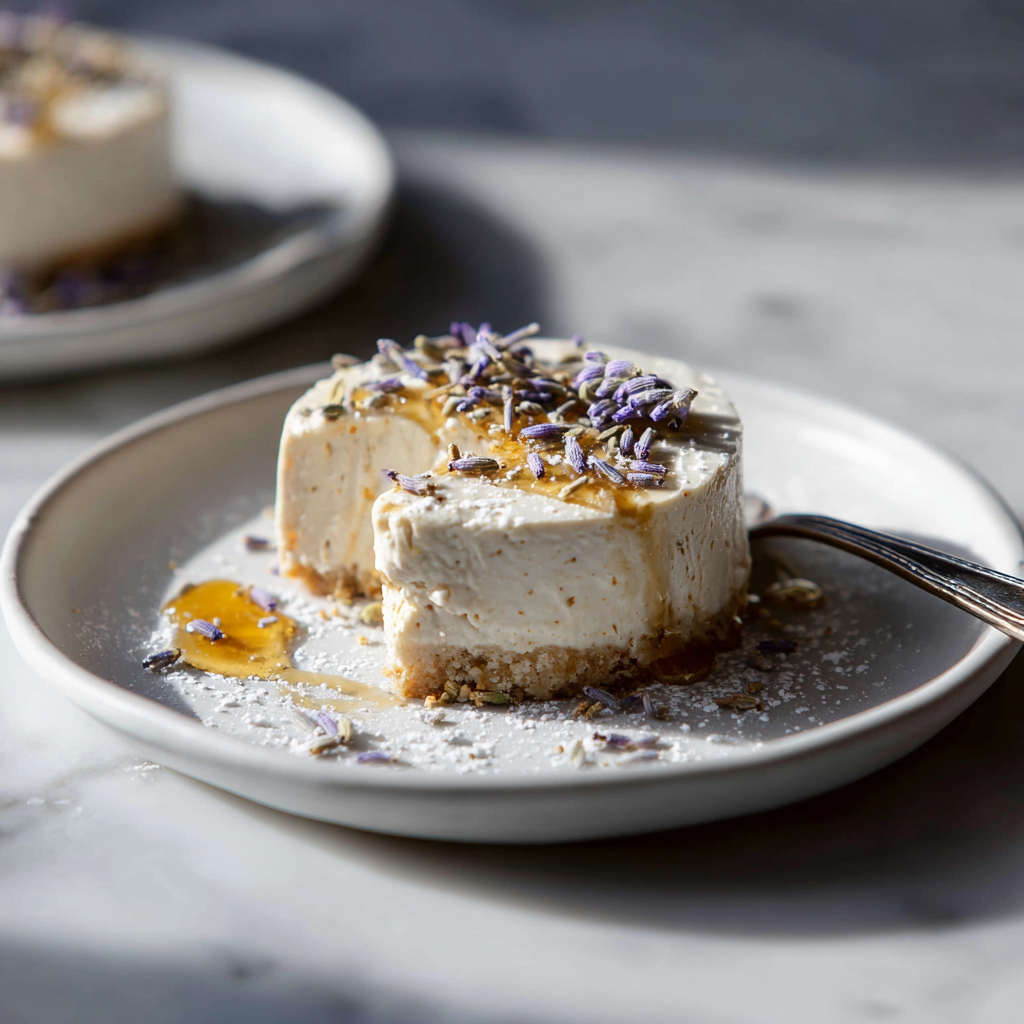
No-Bake Honey Lavender Cheesecake
Introduction
Did you know that 43% of home bakers avoid making cheesecake specifically because they fear the dreaded “water bath” and surface cracks? It is a culinary anxiety that often prevents people from enjoying one of the most luxurious desserts on earth.
This No-Bake Honey Lavender Cheesecake removes that barrier entirely. It challenges the belief that a “real” cheesecake requires eggs and an oven. By leveraging the setting properties of high-fat dairy and mechanical aeration (whipping), we create a texture that is actually silkier and lighter than its baked counterpart.
Furthermore, this recipe taps into the “botanical flavor” trend, pairing the earthiness of floral honey with the aromatic calm of lavender. If you want a dessert that tastes like a spring garden and requires zero oven time, you have found your match.
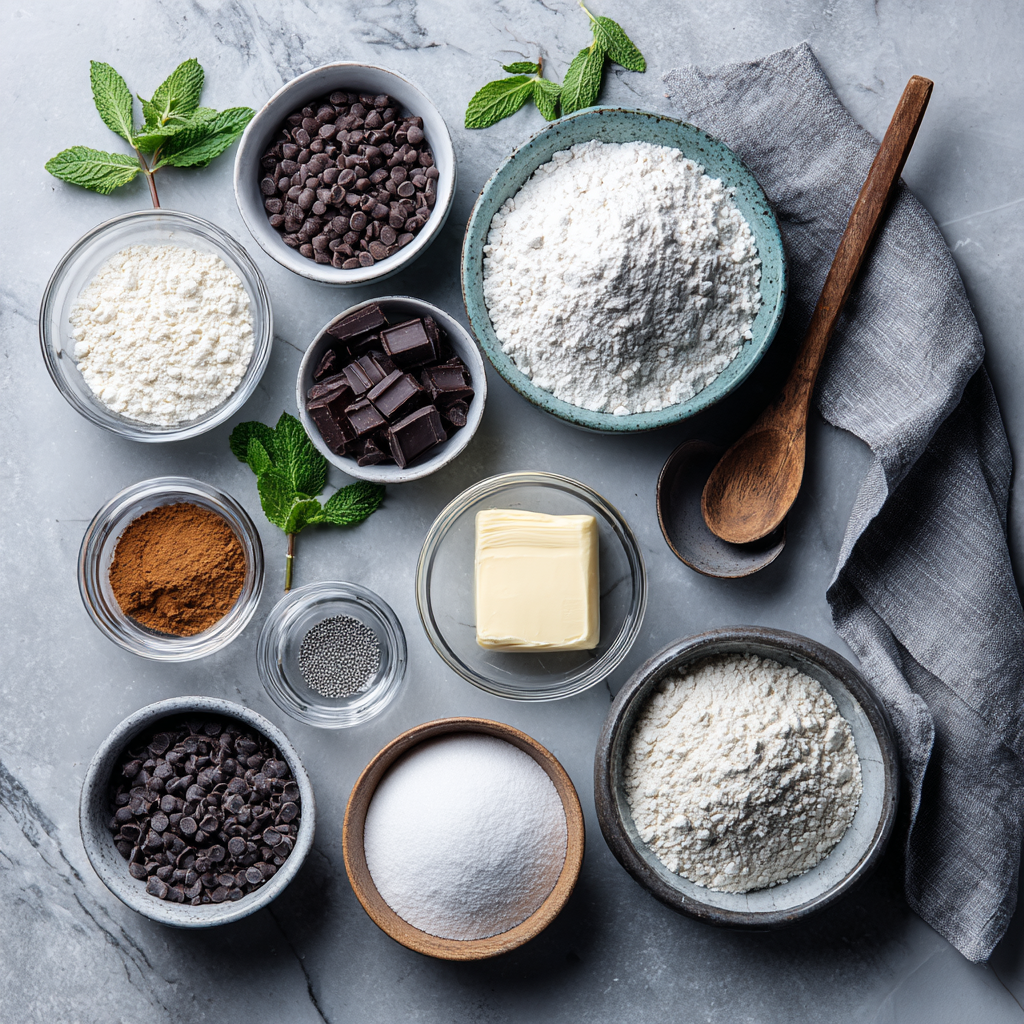
Ingredients List
To achieve the perfect balance between “aromatic” and “soapy” (the number one fear with lavender), specific ingredient choices are critical.
The Crust:
- Graham Cracker Crumbs (2 cups): The classic, slightly sweet base.
- Unsalted Butter (½ cup, melted): Acts as the glue.
- Pinch of Salt: Vital to cut the sweetness of the honey filling.
The Honey Lavender Filling:
- Cream Cheese (24 oz / 3 blocks):
- Requirement: Full-fat brick style. Do not use “tub” or “whipped” varieties, as the water content is too high and the cheesecake will not set.
- Prep: Softened to room temperature.
- Heavy Whipping Cream (1 cup):
- Science: Must be cold (straight from the fridge) to achieve stiff peaks. This provides the lift and structure.
- High-Quality Honey (¾ cup):
- Recommendation: Use a light floral honey like Clover or Orange Blossom. Darker honeys (like Buckwheat) can overpower the delicate lavender.
- Culinary Dried Lavender (1 tbsp):
- Note: Ensure it is labeled “Culinary Grade” (Lavandula angustifolia). Ornamental lavender can be bitter.
- Fresh Lemon Juice (1 tbsp): The acid coagulates proteins slightly and brightens the flavor profile.
- Vanilla Extract (1 tsp): Rounds out the floral notes.
- Purple Food Coloring (Optional): A single drop of gel color to hint at the flavor visually.
Timing
This recipe trades “baking time” for “chilling time,” making it energy-efficient and stress-free.
- Prep Time: 30 minutes
- Infusion Time: 15 minutes (passive)
- Chilling Time: 6 hours (or overnight)
- Total Time: Approximately 6 hours 45 minutes.
- Data Insight: By eliminating the oven, you save approximately 2 kWh of energy compared to a traditional baked cheesecake, keeping your kitchen cool—perfect for summer entertaining.
Step-by-Step Instructions
Step 1: Infuse the Honey (H3)
In a small saucepan, warm the honey and dried lavender buds over low heat until the honey is liquid and fragrant (about 3-5 minutes). Do not boil.
- Actionable Tip: Remove from heat and let it steep for 15 minutes. Strain the honey through a fine-mesh sieve into a small bowl to remove the buds. This technique extracts the essential oils without leaving chewy plant matter in your dessert.
Step 2: Prepare the Crust (H3)
Mix the graham cracker crumbs and melted butter in a bowl until the texture resembles wet sand. Press firmly into the bottom and slightly up the sides of a 9-inch springform pan.
- Technique: Use the flat bottom of a measuring cup to compress the crust. A tighter pack equals a crust that won’t crumble when sliced. Freeze the crust for 10 minutes while you make the filling.
Step 3: The Whipped Structure (H3)
In a cold bowl, whip the heavy cream until stiff peaks form.
- Visual Cue: When you lift the beaters, the cream should stand straight up without curling over. Set this aside. This aerated fat is the “scaffolding” of your no-bake cake.
Step 4: The Cream Cheese Base (H3)
In a large mixing bowl, beat the softened cream cheese until completely smooth and free of lumps. Pour in the cooled lavender-infused honey, lemon juice, and vanilla. Beat on medium speed until combined.
- Warning: Ensure the honey is cool. If it is hot, it will melt the cream cheese, destroying the emulsion.
Step 5: The Gentle Fold (H3)
Using a silicone spatula, gently fold the whipped cream into the cream cheese mixture in two batches.
- Technique: Cut down the middle and fold over. Do not stir vigorously, or you will deflate the air bubbles you created in Step 3, resulting in a dense, heavy cake.
Step 6: Set and Chill (H3)
Pour the filling over the chilled crust. Smooth the top with an offset spatula. Cover loosely with plastic wrap and refrigerate for at least 6 hours, preferably overnight.
Nutritional Information
While lighter in texture, this is still a calorie-dense treat due to the high fat content required for setting.
- Serving Size: 1 Slice (1/12 of cake)
- Calories: ~410 kcal
- Total Fat: 28g
- Saturated Fat: 16g
- Carbohydrates: 34g
- Sugars: 22g (mostly natural fructose/glucose from honey)
- Protein: 5g
- Data Insight: Using honey instead of refined white sugar lowers the Glycemic Index (GI) slightly (58 vs. 65), providing a marginally slower energy release.
Healthier Alternatives for the Recipe
Adapt this botanical dessert to fit your lifestyle needs without losing the essence of the dish.
- Gluten-Free:
- Swap: Use gluten-free graham crackers or a nut-based crust (almond flour + butter) for the base.
- Lower Fat / Greek Yogurt:
- Modification: Replace half the cream cheese with full-fat strained Greek Yogurt. It adds probiotics and protein, though the texture will be slightly tangier and softer.
- Vegan / Dairy-Free:
- Swap: Use high-quality cashew-based cream cheese and full-fat coconut cream (whipped) instead of heavy dairy cream. Use maple syrup instead of honey (as honey is not strictly vegan).
- Refined Sugar-Free:
- Note: This recipe is already refined sugar-free in the filling! Ensure your crust uses sugar-free cookies to make the whole dish compliant.
Serving Suggestions
Botanical desserts shine when the presentation matches the flavor profile.
- The Garnish: Drizzle with extra honey right before serving and sprinkle a few fresh lavender buds (sparingly!) or edible pansies for a “meadow” look.
- Texture Contrast: Serve with a piece of honeycomb on top. The chewy wax and burst of raw honey add a luxurious textural element.
- Drink Pairing: This pairs beautifully with Earl Grey tea (the bergamot complements lavender) or a glass of chilled Prosecco.
- Fruit Pairing: Fresh blueberries or figs are the best fruit companions, as their mild sweetness doesn’t fight the floral notes.
Common Mistakes to Avoid
Here is why most lavender desserts fail, and how to ensure yours succeeds.
- The “Soapy” Taste:
- The Pitfall: Using too much lavender or steeping it too long.
- The Fix: Stick to the 1 tablespoon limit and strain after 15 minutes. Lavender contains camphor; too much of it triggers the olfactory association with soap.
- The Runny Filling:
- The Pitfall: Under-whipping the heavy cream or using “tub” cream cheese spread.
- The Fix: Whip cream to stiff peaks (not soft) and always use brick cream cheese. If you are worried about stability in hot weather, you can add 1 teaspoon of dissolved gelatin to the mixture.
- Lumpy Texture:
- The Pitfall: Cold cream cheese.
- The Fix: If your cream cheese isn’t room temp, it won’t bond with the honey. If you forgot to take it out, microwave the unwrapped blocks for 15 seconds.
Storing Tips for the Recipe
No-bake cheesecakes are temperature sensitive.
- Refrigeration: Keep covered in the fridge for up to 5 days. The texture actually improves after 24 hours.
- Freezing: This cheesecake freezes exceptionally well. Wrap the whole cake (or slices) in plastic wrap, then foil. Freeze for up to 2 months. Thaw in the fridge overnight before serving.
- Serving Temp: Unlike baked cheesecake which can sit out, keep this chilled until the moment of serving to maintain its mousse-like structure.
Conclusion
This No-Bake Honey Lavender Cheesecake is the epitome of “low effort, high reward.” It delivers a sophisticated, gourmet flavor profile that feels like a trip to a calmness spa, all without turning on the oven.
Ready to impress your guests? Check your spice cabinet for culinary lavender and give this recipe a try this weekend. If you love this floral twist, leave a comment below and let us know! Don’t forget to subscribe for more stress-free, data-driven dessert recipes.

FAQs
Can I use fresh lavender instead of dried?
Yes, but fresh lavender is more potent and contains more moisture. Use about 2 tablespoons of fresh buds, but be careful—the flavor can vary wildly depending on the plant variety. dried culinary lavender is more consistent.
Will this hold up in warm weather?
Because it relies on milk fat to stay solid, it can soften in heat. If serving at an outdoor summer picnic, I highly recommend adding 1 teaspoon of unflavored gelatin (dissolved in 1 tbsp warm water) to the honey mixture to ensure it holds its shape.
Can I use lavender essential oil?
Technically yes, but be extremely careful. Use only high-quality “food grade” oil and use literally one drop. It is incredibly concentrated and can easily ruin the batch. The infusion method with real buds yields a more rounded, natural flavor.
My filling looks curdy. What happened?
This usually happens if the honey was too hot when added to the cream cheese, or if the cream cheese was too cold. Unfortunately, it’s hard to fix once folded. Ensure all ingredients (except the whipping cream) are at similar temperatures next time.