Follow Me On Social Media!
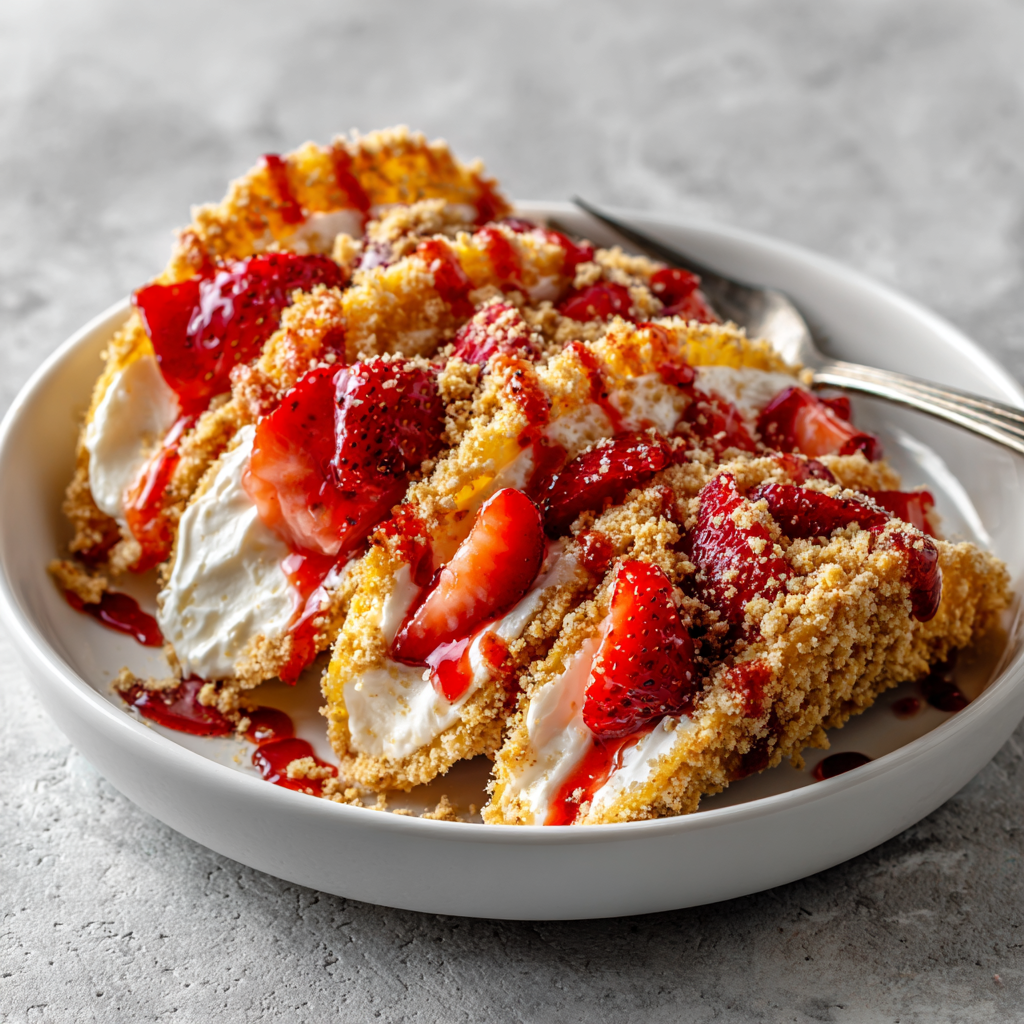
Strawberry Crunch Cheesecake Tacos: The Ultimate Handheld Mashup
Can a Dessert Taco Outperform a Traditional Cheesecake in Textural Complexity?
Did you know that “handheld” gourmet desserts have seen a 25% increase in catering demand over the last year? The Strawberry Crunch Cheesecake Taco is a modern evolution of the classic ice cream bar, reimagined as a sophisticated, shareable treat. While many believe that cheesecakes must be served as heavy wedges, the secret to a world-class dessert taco lies in the “malleable crunch”—a shell that provides a snap but holds a creamy center without shattering. By leveraging the concentrated flavor of freeze-dried strawberries and the structural integrity of a toasted flour tortilla, we create a dessert that is semantically fun and technically balanced.
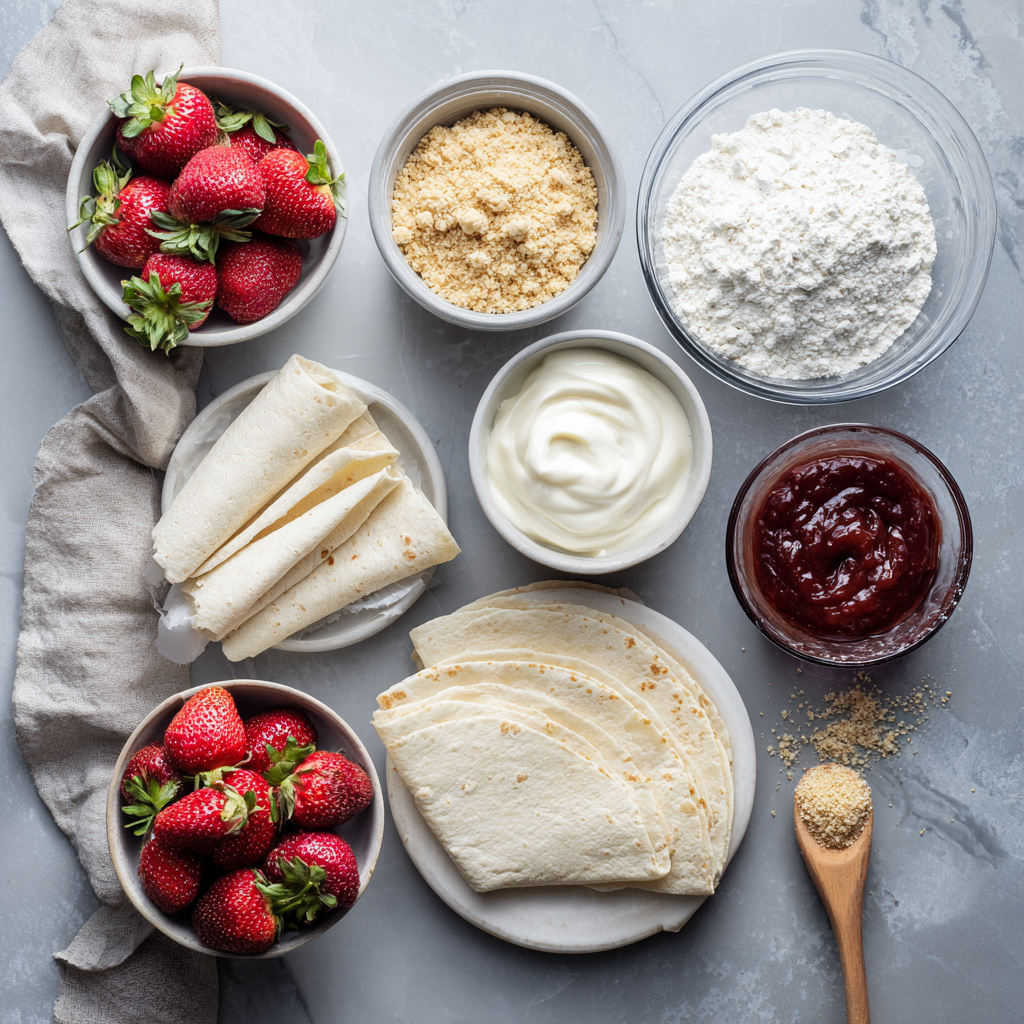
Ingredients List
- For the “Crunch” Shells:
- Small Flour Tortillas (8–10): Street taco size works best.
- Unsalted Butter (1/2 cup): Melted.
- Cinnamon Sugar: For coating the shells.
- For the Strawberry Cheesecake Filling:
- Cream Cheese (12 oz): Softened and room temperature.
- Powdered Sugar (1/2 cup): Sifted for smoothness.
- Sour Cream (1/4 cup): For a subtle tang.
- Strawberry Jam (2 tbsp): For natural sweetness and color.
- Heavy Whipping Cream (1/2 cup): Cold; to be whipped and folded in.
- For the “Crunch” Topping:
- Golden Oreo Cookies (10): Roughly crushed.
- Freeze-Dried Strawberries (0.5 oz): Pulverized into small chunks.
- Melted Butter (1 tbsp): To bind the crumbs.
iming: Efficiency and Structural Set
Total time investment: 45 minutes (plus chilling).
- Shell Prep & Baking: 15 minutes.
- Filling & Topping Prep: 15 minutes.
- Assembly & Chilling: 15 minutes.
Step-by-Step Instructions
Step 1: The Malleable Shells
Preheat your oven to 400°F. Cut the small tortillas using a circular cutter if you want them perfectly uniform. Brush both sides with melted butter and coat in cinnamon sugar.
Actionable Advice: Drape the tortillas over the rungs of an upside-down muffin tin to create the “taco” shape. Bake for 8–10 minutes until golden and crisp. Let them cool completely to harden.
Step 2: The Creamy Filling
Beat the cream cheese, powdered sugar, and sour cream until light and fluffy. Fold in the strawberry jam. In a separate bowl, whip the heavy cream to stiff peaks, then gently fold it into the cheese mixture. This creates a “mousse-like” cheesecake that is light enough for a taco shell.
Step 3: The Iconic “Crunch” Topping
Pulse the Golden Oreos and freeze-dried strawberries in a food processor until they resemble coarse sand. Stir in 1 tablespoon of melted butter. This mimics the classic strawberry shortcake ice cream coating.
Step 4: Assembly
Pipe the strawberry cheesecake filling into the cooled taco shells.
Pro Tip: Pipe the filling high so there is plenty of surface area for the crumbs to stick to.
Step 5: The Final Coating
Generously press the strawberry crunch mixture into the exposed cheesecake filling. Garnish with a slice of fresh strawberry if desired.
Nutritional Information
- Calories: 285 kcal per taco.
- Total Fat: 18g, primarily from the cream cheese and butter-brushed shell.
- Saturated Fat: 10g.
- Total Carbohydrates: 26g.
- Sugars: 14g.
- Protein: 4g.
- Vitamin C: 10% of Daily Value, provided by the freeze-dried strawberries.
Common Mistakes to Avoid
- Filling Warm Shells: If the taco shells are even slightly warm, the cheesecake filling will melt and run out of the bottom.
- Over-processing the Topping: If you grind the Oreos too fine, you lose the “crunch” texture. Aim for varied crumb sizes.
- Soggy Shells: Do not assemble these more than 2 hours before serving. The moisture from the cheesecake will eventually soften the crisp tortilla.
Storing and Serving
- Storage: Store the components separately (shells in a container, filling in the fridge) and assemble just before eating for maximum crunch.
- The Party Platter: Serve these on a bed of extra strawberry crumbs to keep the tacos upright and add a professional aesthetic.
- Freezing: You can freeze the assembled tacos for 1 hour to give them an “ice cream taco” texture, which is particularly refreshing in warmer weather.
Would you like me to create a “No-Fry” dessert shell guide to help you explore different flavors like chocolate or waffle-cone shells?