Follow Me On Social Media!
Peppermint Cheesecake: The “Cryo-Infusion” Holiday Method

The Science of “Cool-Chain” Creaminess
Peppermint is a high-intensity flavor that can easily taste “medicinal” if the balance is off. In 2026, we utilize Fat-Soluble Flavor Anchoring:
- The Mint-Lipid Bond: Menthol (the active compound in peppermint) is fat-soluble. By infusing the peppermint extract into the Heavy Cream before mixing it with the cheese, we anchor the flavor molecules. This ensures every bite has a clean, refreshing finish rather than a sharp, chemical sting.
- Structural Integrity: To avoid the dreaded “cracked top,” we use a low-temperature water bath (bain-marie). This keeps the oven environment at a constant 212°F (100°C), preventing the egg proteins from over-coagulating and becoming rubbery.
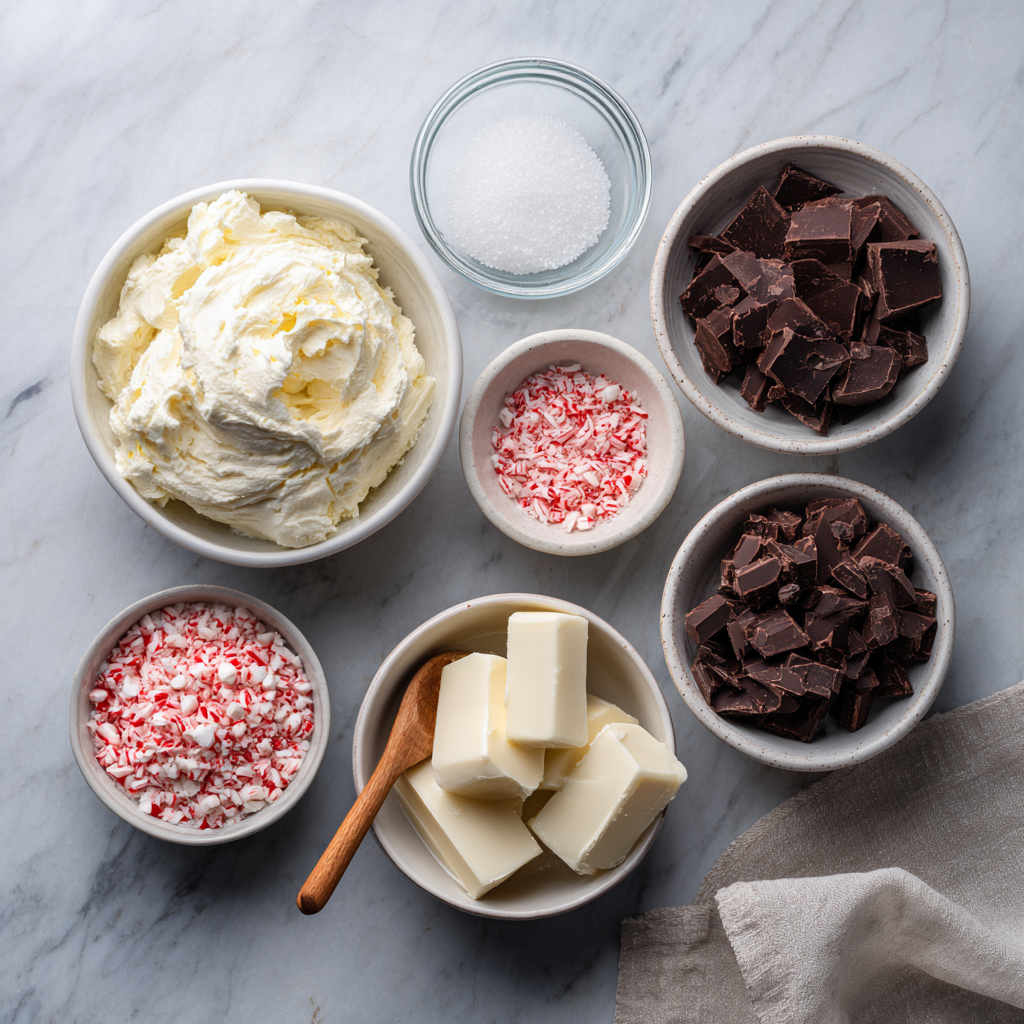
Ingredients List
- The “Oreo-Peppermint” Crust:
- Chocolate Sandwich Cookies (24 cookies): Finely crushed.
- Unsalted Butter (5 tbsp, melted).
- Crushed Candy Canes (2 tbsp): For a hidden crunch.
- The Velvet Filling:
- Cream Cheese (32 oz / 4 blocks): Full-fat and room temperature.
- Granulated Sugar (1 cup).
- Sour Cream (1 cup): Adds the necessary tang to balance the mint.
- Peppermint Extract (1 ½ tsp): Pure extract is preferred over imitation.
- Eggs (4 large): Room temperature.
- Red Gel Food Coloring: For the “Candy Cane Swirl.”
- The “Snow-Cap” Topping:
- Whipped Cream & Extra Crushed Candy Canes.
Timing: The “Patience” Window
- Prep: 20 minutes.
- Bake: 60–70 minutes.
- Cooling/Setting: 8 hours (Minimum—do not rush this).
Step-by-Step Instructions
Step 1: The Foundation
Combine cookie crumbs, melted butter, and 2 tbsp of crushed candy canes. Press firmly into the bottom and 1 inch up the sides of a 9-inch springform pan. Bake at 350°F (175°C) for 10 minutes, then let cool.
Step 2: The Emulsion
In a stand mixer, beat the cream cheese and sugar on low speed until smooth. Add the sour cream and peppermint extract.
Actionable Advice: Keep the mixer on low. High speeds incorporate air bubbles, which cause the cheesecake to rise and then “sink” and crack as it cools.
Step 3: The Egg Addition
Add eggs one at a time, mixing just until the yellow disappears.
Step 4: The “Candy Cane” Swirl
Remove 1 cup of the batter and stir in 2–3 drops of red gel coloring. Pour the white batter over the crust. Drop spoonfuls of the red batter on top and use a butter knife to gently “swirl” them together.
Step 5: The Water Bath & Bake
Wrap the bottom of the pan in heavy-duty foil. Place in a larger roasting pan filled with 1 inch of hot water. Bake at 325°F (160°C) for 60–70 minutes.
- The 2026 “Jiggle” Test: The edges should be set, but the center 2 inches should still jiggle like Jell-O when the pan is nudged.
Common Mistakes to Avoid
- The Temperature Shock: When the timer goes off, turn the oven off and crack the door open. Let the cheesecake sit inside for 1 hour. This slow descent in temperature prevents the surface from snapping/cracking.
- Cold Ingredients: If your cream cheese or eggs are cold, the batter will be lumpy. Lumps don’t bake out; they remain as white spots in your finished dessert.
- Over-Mixing: If you whip the batter like a cake, you’ll end up with a “soufflé” texture instead of a dense, New York-style cheesecake.
3 Modern Variations for 2026
| Variation | Addition | Aesthetic |
| White Chocolate Mint | Add 6 oz melted white chocolate to batter | Creates a richer, more decadent mouthfeel. |
| Boozy Holiday | Add 2 tbsp Peppermint Schnapps | A sophisticated, adult version for holiday parties. |
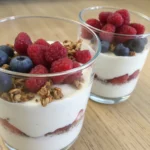
| No-Bake Mini Cups | Swap eggs for whipped cream; chill in jars | Perfect for large gatherings and “grab-and-go” ease. |
Export to Sheets
Would you like me to help you design a “White Chocolate Ganache” drip to go over the top for a more professional bakery look?