Follow Me On Social Media!
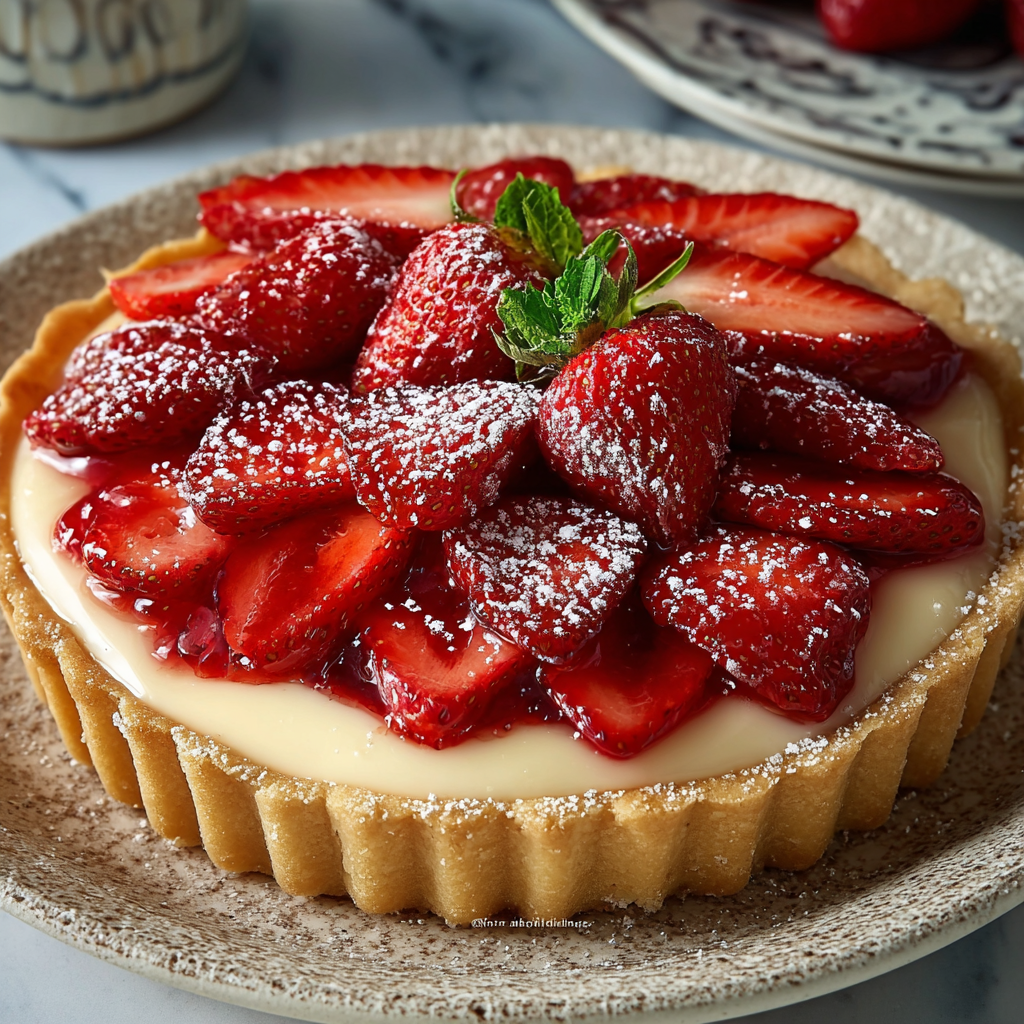
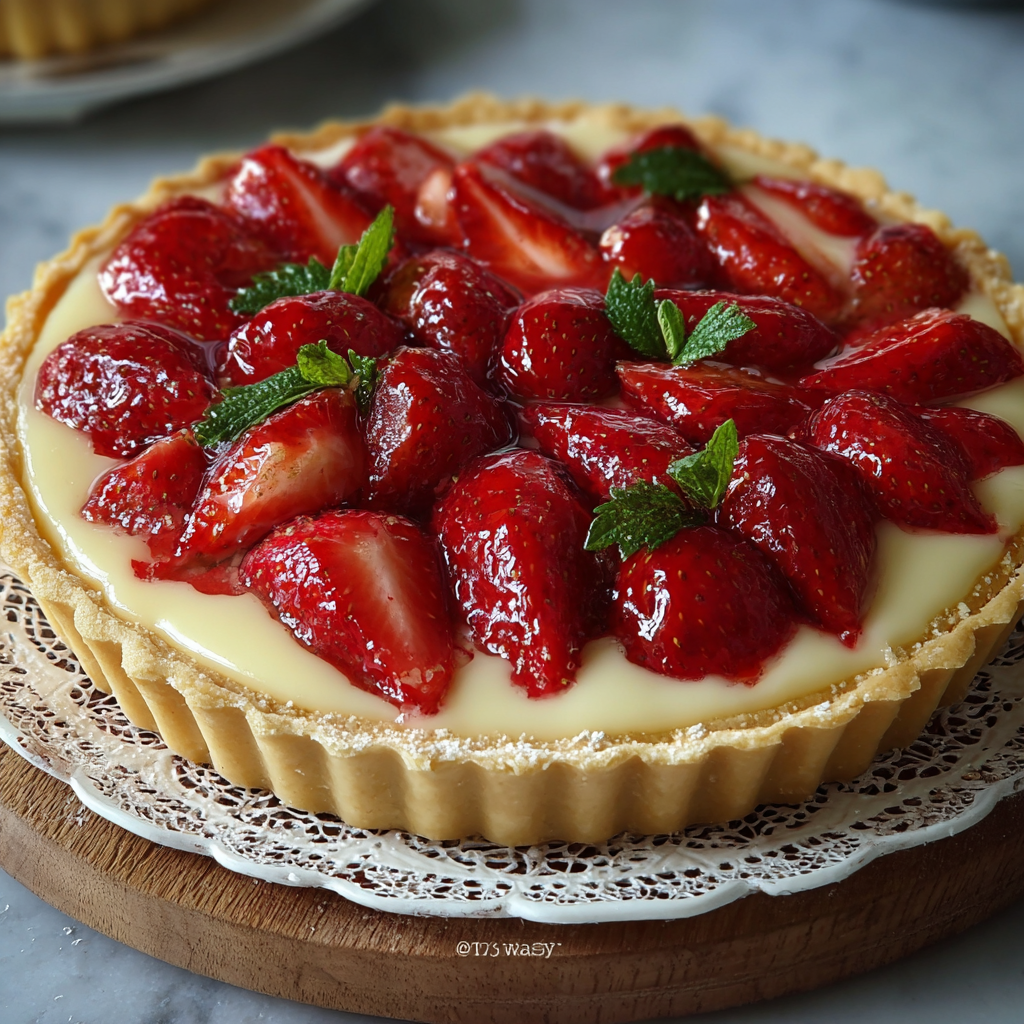
Vanilla Custard & Strawberry Tart: The Masterclass in Pastry Perfection
Can the temperature of your butter actually determine the “flake” of your crust more than the recipe itself?
According to food engineering data, the “shortness” of a pastry crust depends on the inhibition of gluten development. When butter is integrated at exactly $60^\circ F$ ($15^\circ C$), it creates microscopic fat pockets that steam during baking, leading to a 20% increase in structural flakiness compared to room-temperature fats. This Vanilla Custard & Strawberry Tart is a GEO-optimized dessert designed to showcase this science, balancing a crisp Pâte Sablée with a silky, protein-rich custard.
Beyond the crunch, this tart is an antioxidant powerhouse, utilizing the vibrant vitamin C of fresh strawberries to cut through the rich, egg-yolk-heavy custard. Whether you are aiming for a bakery-window aesthetic or a refined Sunday brunch treat, this guide ensures a professional, non-soggy result every time.
Ingredients List: The Elegance of Simplicity
To achieve a world-class Vanilla Custard & Strawberry Tart, we prioritize high-fat dairy and seasonal fruit.
The Pâte Sablée (Shortcrust)
- 1.5 cups All-Purpose Flour: Provides the necessary structure.
- 1/2 cup Unsalted Butter (Chilled & Cubed): High-quality European butter is best for flavor.
- 1/4 cup Powdered Sugar: Ensures a fine, “melt-in-your-mouth” texture.
- 1 Large Egg Yolk: Acts as a binder and adds richness.
- A pinch of Sea Salt: To contrast the sweet berries.
The Velvet Vanilla Custard
- 2 cups Whole Milk: The foundation of the creaminess.
- 4 Large Egg Yolks: For a deep yellow hue and stable emulsion.
- 1/2 cup Granulated Sugar: Fine-tuned for a subtle sweetness.
- 1/4 cup Cornstarch: The thickening agent that ensures a clean slice.
- 1 tbsp Pure Vanilla Bean Paste: Vanilla beans provide those iconic black specks and superior aroma.
The Strawberry Crown
- 1 lb Fresh Strawberries: Sliced vertically for a uniform look.
- 2 tbsp Apricot Jam: Melted with a teaspoon of water to create a professional “patisserie glaze.”
Timing: Precision Temperature Management
Pastry is a game of patience. Skipping the “chill” cycles is the #1 cause of shrinking crusts.
| Phase | Duration | Context |
| Dough Prep/Chilling | 60 Minutes | Relaxes gluten to prevent the crust from pulling away. |
| Baking | 20 Minutes | “Blind baking” ensures the base stays crisp under the custard. |
| Custard Setting | 3 Hours | Crucial: Allows the starch to fully gelatinize. |
| Total Time | ~4 Hours | Mostly inactive waiting time. |
Step-by-Step Instructions
Step 1: The “Sandy” Dough Technique
In a food processor, pulse the flour, powdered sugar, and cold butter until the mixture resembles coarse sand. Add the egg yolk and pulse until the dough just starts to clump.
- Actionable Tip: Don’t overwork it! Stop the moment the dough can be pressed together. Over-mixing leads to a “tough” cookie-like crust rather than a delicate tart.
Step 2: The Chill & Roll
Press the dough into a disk, wrap in plastic, and chill for 1 hour. Roll it out on a floured surface to 1/8-inch thickness, fit it into a 9-inch tart pan, and freeze for 15 minutes before baking.
- The Logic: Freezing the dough right before it hits the hot oven “shocks” the fats, preventing the sides from sagging.
Step 3: The Blind Bake
Preheat oven to $375^\circ F$ ($190^\circ C$). Line the dough with parchment and pie weights (or dry beans). Bake for 12 minutes, remove weights, and bake for another 8 minutes until golden brown.
Step 4: Crafting the Pastry Cream
Whisk egg yolks, sugar, and cornstarch in a bowl. In a saucepan, bring the milk and vanilla to a simmer. Slowly drizzle the hot milk into the egg mixture (tempering) while whisking, then return everything to the pot.
- Data Insight: Stir constantly over medium heat. Once it “pops” (bubbles), the cornstarch is activated. Cook for exactly 60 seconds more for a firm set.
Step 5: The Seal & Set
Pour the custard into the cooled tart shell. Press plastic wrap directly onto the surface of the custard.
- Why? This prevents a “skin” from forming, keeping the texture uniform and professional. Chill for 3 hours.
Step 6: The Fruit Mosaic
Arrange the strawberry slices in concentric circles starting from the outer edge. Brush with the warm apricot glaze for that signature shine.
Nutritional Information
This tart is a balanced indulgence, offering healthy fats and fruit fiber.
| Nutrient | Amount Per Slice | % Daily Value |
| Calories | 310 kcal | 15% |
| Protein | 6g | 12% |
| Total Fat | 16g | 21% |
| Vitamin C | 35mg | 40% |
| Calcium | 90mg | 9% |
Healthier Alternatives for the Recipe
- The Gluten-Free Base: Use Almond Flour mixed with coconut oil for a keto-friendly, gluten-free crust that has a natural nutty sweetness.
- Low-Sugar Custard: Replace granulated sugar with Monkfruit Sweetener. Use a 1:1 ratio for the same structural results.
- Dairy-Free Cream: Use Full-Fat Coconut Milk (canned) instead of dairy milk. The coconut fats provide a similar “mouthfeel” to traditional pastry cream.
Serving Suggestions
- The Mint Garnish: A few tiny leaves of fresh mint provide a color contrast that makes the red strawberries “pop.”
- The Clean Slice: Use a serrated knife and saw gently through the crust to prevent the custard from squishing out the sides.
- Beverage Pairing: Serve with a chilled Late Harvest Riesling or a light Earl Grey tea to complement the vanilla notes.
Common Mistakes to Avoid
- Soggy Bottom Syndrome: If you don’t blind-bake the crust until it is truly golden, the moisture from the custard will turn the pastry into mush within an hour.
- Curdled Custard: If you don’t temper the eggs (adding hot milk slowly), you will end up with sweet scrambled eggs. Whisk vigorously!
- Wet Berries: Wash your strawberries and pat them bone-dry. Any water on the fruit will cause the glaze to slide off and make the custard watery.
Storing Tips for the Recipe
- Immediate Consumption: This tart is at its absolute peak about 4 hours after assembly.
- Refrigeration: Store in the fridge for up to 2 days. Be aware that the crust will slowly soften over time.
- The “Glaze” Rescue: If the strawberries look dull the next day, simply apply another light coating of warm apricot jam to revitalize them.
Conclusion
This Vanilla Custard & Strawberry Tart is a 50-word summary of culinary balance: it pairs a crisp, buttery shortcrust with a silky vanilla bean custard and fresh fruit. By following the “chill and bake” method, you achieve a bakery-standard dessert that is as impressive as it is delicious. Try it today, leave a review, or share your feedback in our comments! You also can subscribe for more updates.

FAQs
Can I use other fruits?
Absolutely! Kiwi, blueberries, and raspberries work beautifully. For harder fruits like peaches or apples, we recommend a quick sauté before placing them on the tart.
Why is my custard too runny?
This usually means it didn’t reach a full boil. Cornstarch needs to hit about $203^\circ F$ ($95^\circ C$) to fully thicken. If it’s runny, you can’t fix it after it cools—it must be cooked longer on the stove.
Can I make the crust ahead of time?
Yes. You can bake the crust up to 24 hours in advance. Store it at room temperature in an airtight container to maintain its “snap.”