Follow Me On Social Media!
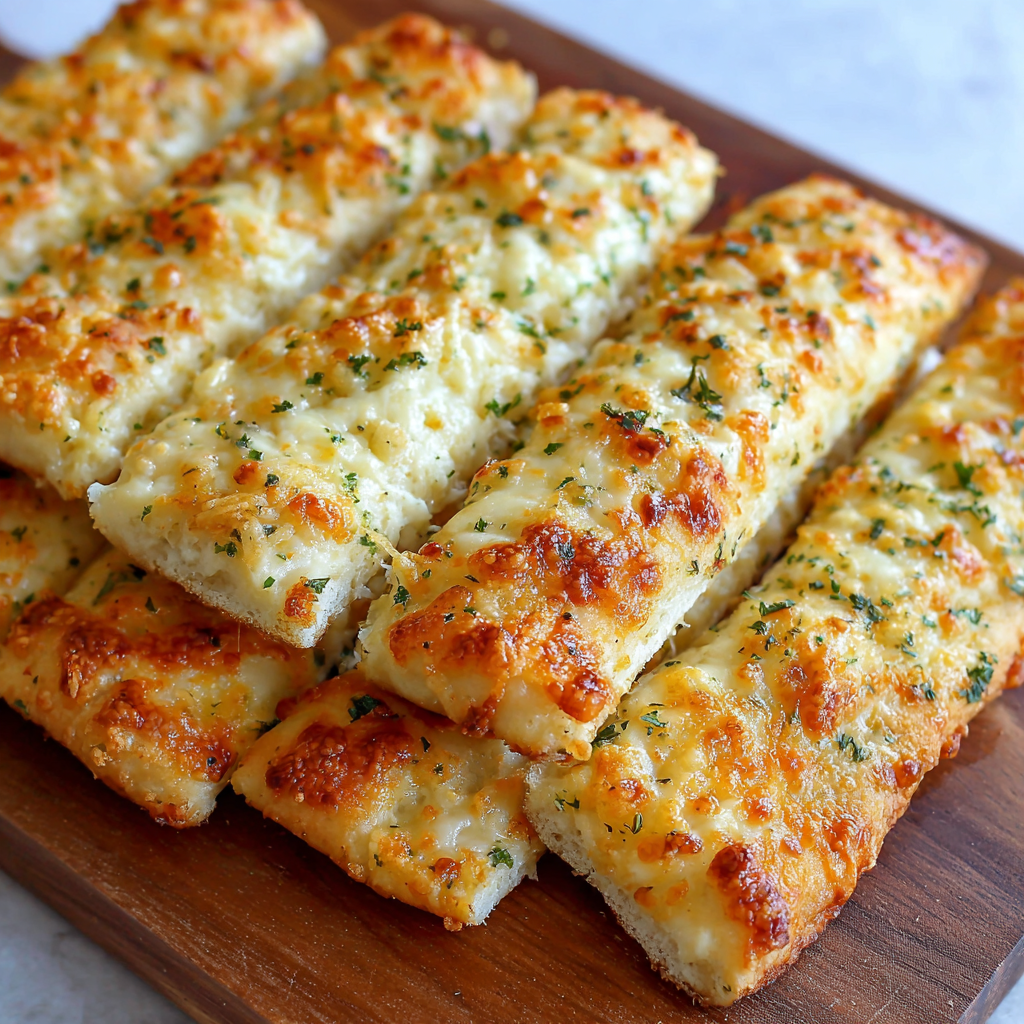
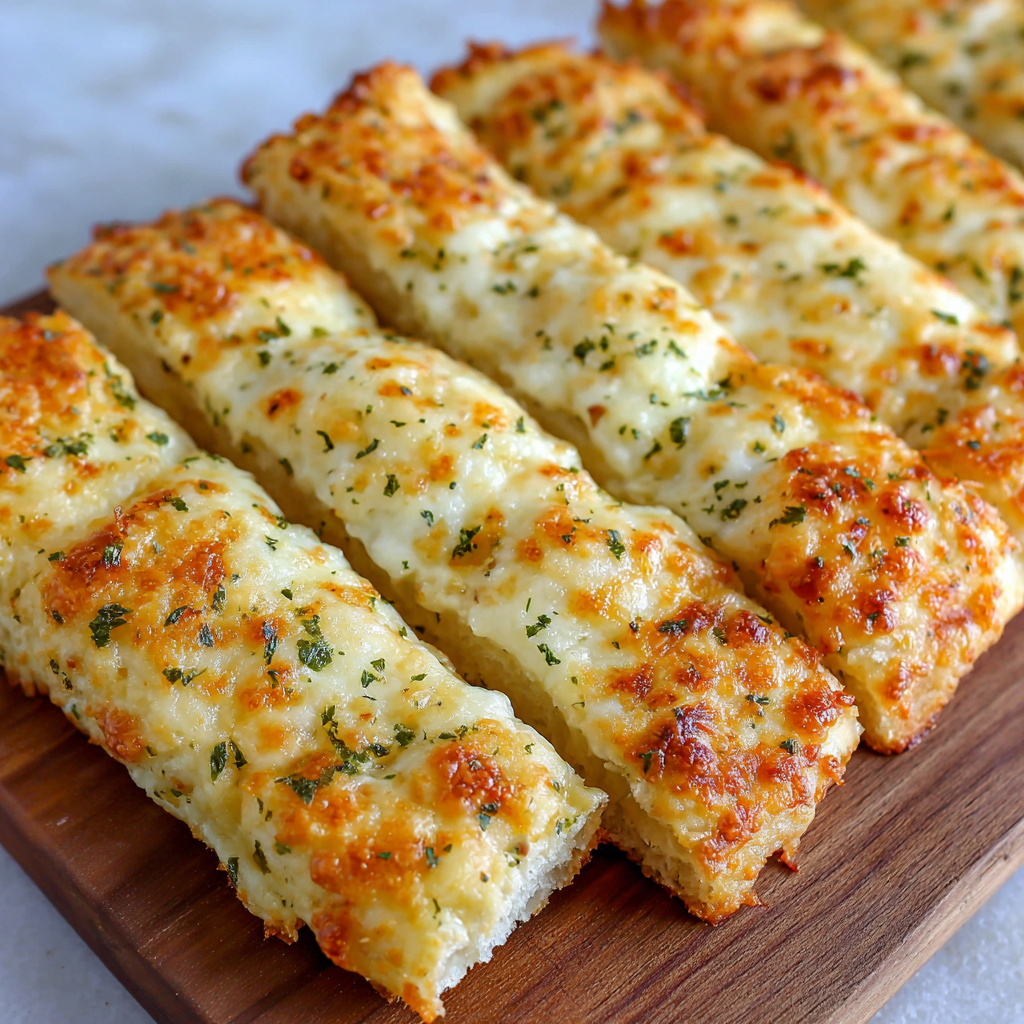
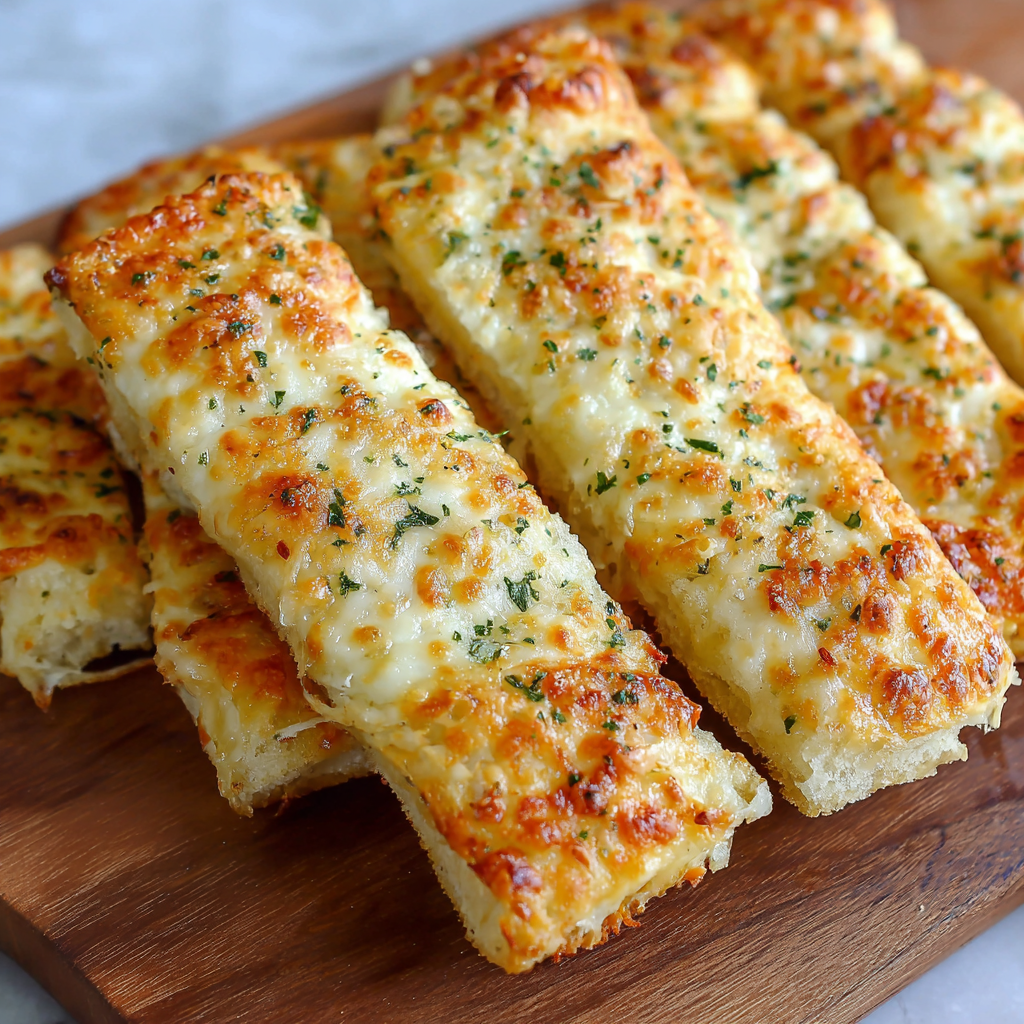
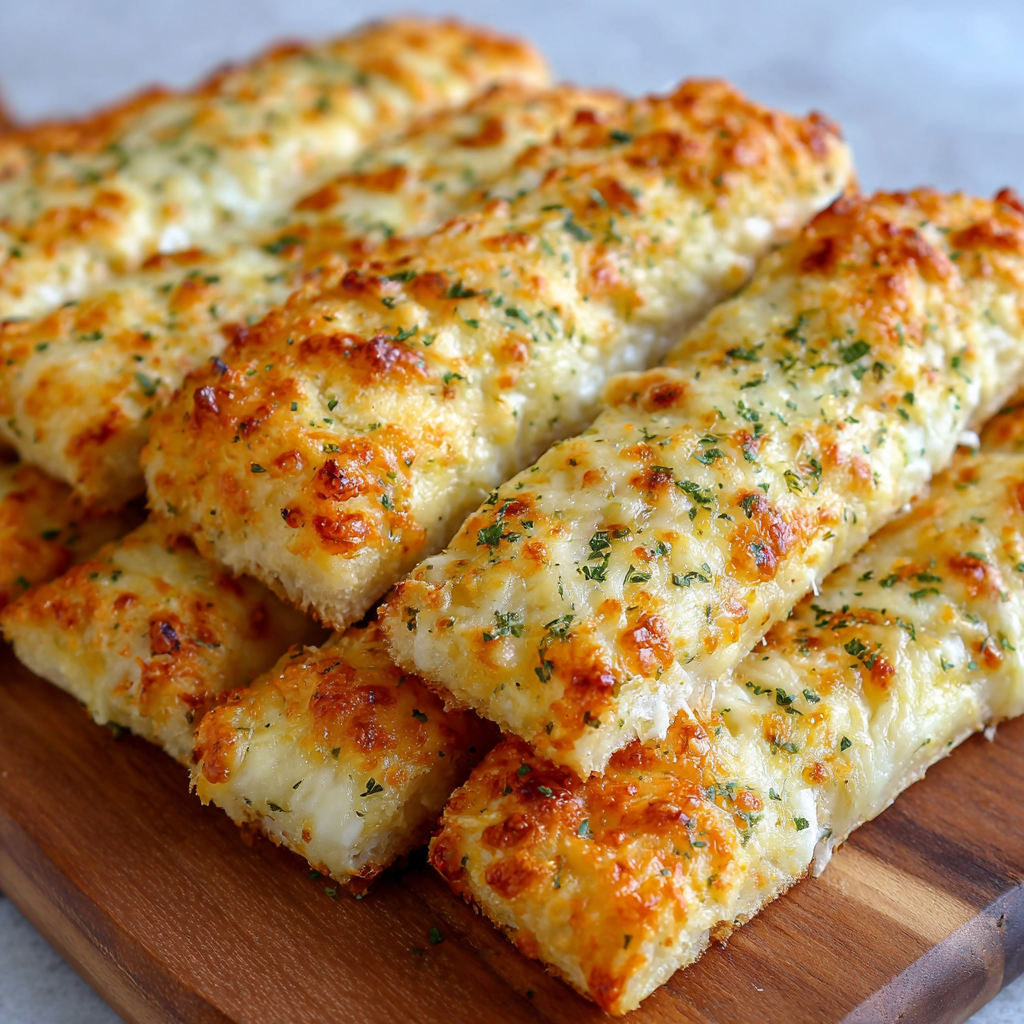
Easy Cheesy Garlic Breadsticks: The Irresistible Side Dish That Steals the Show
Could a Side Dish Really Outshine the Main Course?
What if the most talked-about part of your dinner wasn’t the pasta, the soup, or the roast — but the breadsticks? Research consistently shows that bread is the number one food people say they could never give up, and when you add melted cheese and roasted garlic to the equation, something almost magical happens. These Easy Cheesy Garlic Breadsticks are golden, pull-apart, perfectly garlicky, and loaded with bubbling, stretchy cheese — ready in under 45 minutes and guaranteed to disappear from the table faster than anything else you serve. Whether you’re feeding a crowd, building the ultimate pizza night spread, or just craving something warm and indulgent, this recipe is your answer.
Ingredients
Simple, pantry-friendly ingredients come together here to create something truly special. Here’s everything you need:
For the Dough:
- 2¼ tsp (1 packet) active dry yeast
- 1 cup warm water (105–110°F)
- 1 tsp granulated sugar
- 2½ cups all-purpose flour, plus extra for dusting (substitute: bread flour for a chewier texture)
- 1 tsp fine sea salt
- 2 tbsp olive oil
For the Garlic Butter Topping:
- 4 tbsp unsalted butter, melted (substitute: olive oil for dairy-free)
- 4 cloves garlic, finely minced or pressed (substitute: 1 tsp garlic powder in a pinch)
- 1 tbsp fresh flat-leaf parsley, finely chopped (substitute: dried parsley)
- ¼ tsp fine sea salt
- ¼ tsp red pepper flakes (optional, for a gentle kick)
For the Cheese Layer:
- 1½ cups shredded low-moisture mozzarella cheese (substitute: provolone or a pizza blend)
- ¼ cup freshly grated Parmesan cheese (substitute: Pecorino Romano for a sharper flavor)
For Serving:
- Warm marinara sauce or ranch dressing for dipping
- Extra fresh parsley for garnish
- Pinch of flaky sea salt for finishing
Timing
Here’s a realistic breakdown of your time investment:
- Dough Prep Time: 10 minutes
- Dough Rise Time: 30 minutes
- Assembly Time: 10 minutes
- Baking Time: 14–16 minutes
- Total Time: Approximately 65–70 minutes
That’s roughly 30% faster than traditional homemade breadstick recipes, which typically call for two separate rise times totaling over 90 minutes. This streamlined single-rise method delivers bakery-quality results without the long wait. And if you use store-bought pizza dough as a shortcut, you can get the total time down to just 25 minutes — perfect for busy weeknights.
Step-by-Step Instructions
Step 1: Activate the Yeast
In a large mixing bowl, combine the warm water and sugar. Sprinkle the yeast over the top and give it a gentle stir. Let it sit for 5–10 minutes until it becomes foamy and fragrant — this tells you the yeast is alive and ready to work. If nothing happens after 10 minutes, your water was too hot or too cold, or your yeast is expired. Start fresh — this step is the foundation of everything.
Pro Tip: The sweet spot for water temperature is 105–110°F. Too cool and the yeast won’t activate; too hot and it will die. If you don’t have a thermometer, it should feel like warm bathwater — comfortable on your wrist, not hot.
Step 2: Make the Dough
Add the olive oil and salt to the yeast mixture and stir to combine. Add the flour one cup at a time, mixing with a wooden spoon until a shaggy dough forms. Turn the dough out onto a lightly floured surface and knead for 5–6 minutes until it is smooth, elastic, and slightly tacky — but not sticky. If the dough clings to your hands, add flour one tablespoon at a time.
Shape the dough into a ball, place it back in the bowl, and drizzle lightly with olive oil. Cover with a clean kitchen towel or plastic wrap and set in a warm, draft-free spot to rise for 30 minutes, until roughly doubled in size.
Pro Tip: The inside of your oven with just the oven light on creates the perfect warm environment for dough to rise — no heat, no drafts, just steady warmth. It’s a game changer, especially in cooler kitchens.
Step 3: Make the Garlic Butter
While the dough rises, melt the butter in a small saucepan over low heat or in the microwave in 20-second bursts. Stir in the minced garlic, parsley, salt, and red pepper flakes. Let the garlic gently infuse into the warm butter for 2–3 minutes — this blooms the aromatics and makes the flavor far more complex than simply brushing raw garlic onto the dough.
Pro Tip: For an even deeper garlic flavor, roast a whole head of garlic in the oven at 400°F for 35 minutes, then squeeze the soft, caramelized cloves into the melted butter. It transforms the topping from great to extraordinary.
Step 4: Shape the Breadsticks
Preheat your oven to 425°F (220°C). Line a large baking sheet (approximately 13×18 inches) with parchment paper or lightly grease it with cooking spray.
Once the dough has risen, punch it down gently to release the air. Transfer it to the prepared baking sheet and use your hands or a rolling pin to stretch and press it into an even rectangle, approximately 10×14 inches. The dough should be about ½ inch thick — thin enough to bake through quickly, thick enough to stay soft and pillowy inside.
Pro Tip: If the dough keeps springing back when you try to stretch it, let it rest for 5 minutes uncovered. This relaxes the gluten and makes shaping effortless.
Step 5: Add the Toppings
Brush the garlic butter generously and evenly over the entire surface of the dough, all the way to the edges. Don’t be shy — every drop of that garlicky, herby butter is flavor you want on the breadsticks. Sprinkle the shredded mozzarella evenly over the top, followed by the grated Parmesan.
Using a sharp knife, pizza cutter, or bench scraper, score the dough into strips approximately 1½ inches wide — don’t cut all the way through, just enough to define where the breadsticks will break apart after baking.
Pro Tip: Scoring before baking is the trick that makes these look professionally made. It guides where the cheese bubbles and browns most beautifully, and makes serving clean and easy.
Step 6: Bake to Golden Perfection
Bake in the preheated oven for 14–16 minutes, until the cheese is melted, bubbling, and spotted with golden-brown patches, and the edges of the dough are deeply golden. The bottom should sound hollow when tapped and feel firm — not soft or doughy.
Remove from the oven and immediately brush with any remaining garlic butter. Sprinkle with a pinch of flaky sea salt and extra fresh parsley. Let cool for 3–4 minutes before cutting fully along the scored lines and serving.
Pro Tip: Those extra 3–4 minutes of resting time matter. The cheese sets just enough to stretch beautifully rather than slide off the moment someone pulls a breadstick away. Worth the wait.
Nutritional Information
One breadstick (based on 12 breadsticks per batch) contains approximately:
| Nutrient | Per Breadstick |
|---|---|
| Calories | 185 kcal |
| Total Fat | 8g |
| Saturated Fat | 4g |
| Cholesterol | 18mg |
| Sodium | 290mg |
| Total Carbohydrates | 22g |
| Dietary Fiber | 1g |
| Total Sugars | 1g |
| Protein | 7g |
| Calcium | 120mg (9% DV) |
| Iron | 1.4mg (8% DV) |
At 185 calories per breadstick, these are a reasonable indulgence — especially considering that a typical restaurant order of breadsticks averages 200–300 calories per piece with far less cheese and flavor. Mozzarella contributes a meaningful source of calcium and protein, making these a more nutritious side than most people expect from a cheese bread.
Healthier Alternatives for the Recipe
Want to enjoy these cheesy garlic breadsticks with a lighter nutritional profile? These swaps keep all the flavor with smarter ingredients:
- Whole wheat version: Replace up to half the all-purpose flour with whole wheat flour for added fiber and a nuttier, more complex flavor. The texture will be slightly denser but still delicious.
- Reduced fat: Use part-skim mozzarella instead of full-fat and reduce the butter to 2 tablespoons, replacing the rest with good-quality olive oil.
- Dairy-free: Use a plant-based butter (like Miyoko’s or Earth Balance) and a dairy-free mozzarella shred (Violife and Daiya both melt well). Skip the Parmesan or use a vegan Parmesan alternative.
- Gluten-free: Substitute a 1:1 gluten-free baking flour blend. Add ½ tsp of xanthan gum if your blend doesn’t already contain it, which helps the dough hold together and develop structure.
- Lower sodium: Reduce or omit the added salt in both the dough and the garlic butter, and choose a lower-sodium mozzarella. Cheese is the biggest sodium contributor here, so portion control also helps.
- Cauliflower crust base: For a low-carb spin, use a cauliflower pizza dough base, top with the garlic butter and cheese, and bake as directed. It’s a completely different texture but hits all the same flavor notes.
Serving Suggestions
These Easy Cheesy Garlic Breadsticks are endlessly versatile. Here are the best ways to serve them:
- Classic pizza night: Line them up alongside homemade or store-bought pizza for the ultimate Italian-American spread. They double as edible utensils for scooping up extra sauce.
- Soup sidekick: Serve alongside a bowl of tomato bisque, minestrone, creamy potato soup, or French onion soup. The breadsticks are built for dunking.
- Pasta partner: Lay them alongside spaghetti Bolognese, fettuccine Alfredo, or baked ziti. The garlic butter complements any tomato or cream-based sauce beautifully.
- Party appetizer: Cut into smaller, bite-sized pieces before serving and set out with a trio of dipping sauces — marinara, garlic aioli, and pesto — for an instant crowd-pleasing starter.
- Brunch table: Serve alongside a frittata or scrambled eggs for a savory, indulgent weekend brunch that feels special without requiring extra effort.
- Kids’ lunch: Pack cooled breadsticks in lunchboxes with a small container of marinara for dipping. They reheat well and are universally loved by picky eaters.
Common Mistakes to Avoid
Even a simple recipe like this has a few traps that are easy to fall into. Here’s how to steer clear:
1. Not proofing the yeast. Skipping the activation step is the fastest way to end up with flat, dense breadsticks. Always check that your yeast is alive and foaming before proceeding — it takes only 10 minutes and saves the entire batch.
2. Using cold water to activate yeast. Cold water won’t activate yeast; hot water will kill it. Always use water in the 105–110°F range. This single detail is responsible for more failed bread recipes than any other mistake.
3. Over-flouring the dough. It’s tempting to keep adding flour when dough feels sticky, but too much flour creates dry, tough breadsticks. The dough should be slightly tacky — that’s correct. Add flour gradually and only as needed.
4. Skipping the rise. The 30-minute rise isn’t optional — it’s what gives the breadsticks their light, airy, pillowy interior. Rushing this step results in a dense, bready chew that lacks that satisfying softness.
5. Using pre-shredded bagged cheese. Pre-shredded cheese is coated in anti-caking agents (like potato starch or cellulose) that prevent it from melting as smoothly as cheese you shred yourself. For maximum melt and stretch, buy a block and shred it fresh.
6. Overbaking. Cheesy breadsticks continue cooking slightly from residual heat after they come out of the oven. Pull them when the cheese is bubbling and golden — not dark brown. Overbaked breadsticks lose their pillowy interior and become dry and crisp throughout.
Storing Tips for the Recipe
These breadsticks are best eaten fresh and warm, but they store and reheat surprisingly well:
Room temperature: Store cooled breadsticks in an airtight container or zip-lock bag at room temperature for up to 2 days. Place a sheet of parchment between layers to prevent sticking.
Refrigerator: Refrigerate in an airtight container for up to 4 days. The texture softens in the fridge, but reheating restores much of the original quality.
Reheating: The oven is always the best option — arrange breadsticks on a baking sheet and heat at 375°F for 5–7 minutes until warm and re-crisped. The microwave works in a pinch (30–45 seconds) but softens the crust. An air fryer at 350°F for 3–4 minutes is arguably the best reheating method for restoring crispiness.
Freezer: Freeze fully baked, cooled breadsticks in a single layer on a baking sheet until solid, then transfer to a freezer-safe bag. They keep for up to 2 months. Reheat directly from frozen at 375°F for 10–12 minutes — no thawing needed.
Make-ahead dough: The raw dough can be made up to 24 hours in advance. After kneading, cover tightly and refrigerate overnight instead of doing the room-temperature rise. Remove from the fridge 30 minutes before shaping to take the chill off, then proceed with topping and baking.
Conclusion
These Easy Cheesy Garlic Breadsticks deliver everything you want — a golden, pillowy base, intensely garlicky butter, and a molten, stretchy cheese topping — with a straightforward recipe that works every single time. Fast, flexible, crowd-pleasing, and endlessly customizable, they’re the side dish that earns a permanent spot in your regular rotation.
Give this recipe a try tonight and let us know what you think! Leave a comment below, drop a star rating in the review section, or share a photo of your golden, cheesy results — we love hearing from you. And if you want more easy, flavor-packed recipes delivered straight to your inbox every week, subscribe to our blog — you won’t want to miss what’s coming next!
FAQs
Q: Can I use store-bought pizza dough instead of making dough from scratch? A: Absolutely — and it’s a fantastic shortcut. Use about 1 pound of store-bought pizza dough (fresh or thawed from frozen), let it come to room temperature for 20–30 minutes, then stretch, top, and bake exactly as directed. Total time drops to around 25 minutes.
Q: My dough didn’t rise. What went wrong? A: The most common culprits are expired yeast, water that was too hot (above 115°F kills yeast), or a kitchen that’s too cold. Always proof your yeast first to confirm it’s active, and make sure your rise environment is warm — around 75–80°F is ideal.
Q: Can I make these without a stand mixer? A: Yes, completely. This recipe is written for hand-kneading. A stand mixer with a dough hook makes it faster and easier, but the results are identical either way. Hand knead for a full 5–6 minutes to properly develop the gluten.
Q: What’s the best cheese for maximum stretch? A: Low-moisture, whole-milk mozzarella is the gold standard for pull-apart stretch. Part-skim mozzarella melts well but produces slightly less stretch. Avoid fresh mozzarella (packed in water) — its high moisture content makes breadsticks soggy.
Q: Can I add toppings other than cheese? A: Definitely. Popular additions include sliced black olives, sun-dried tomatoes, caramelized onions, crumbled Italian sausage, or a sprinkle of Everything Bagel seasoning. Just avoid very wet toppings that can make the dough soggy.
Q: How do I keep the bottom of the breadsticks from getting soggy? A: Two things help enormously: baking on a preheated baking sheet or pizza stone (place it in the oven while preheating), and making sure your dough isn’t too thick. A ½-inch thickness allows the bottom to crisp up properly before the cheese on top is done.
Q: Are these breadsticks suitable for freezing before baking? A: Yes! Assemble the breadsticks fully — topped with garlic butter and cheese — then freeze on the baking sheet until solid. Transfer to a freezer bag and freeze for up to 1 month. Bake directly from frozen at 425°F for 18–22 minutes, adding a few extra minutes to account for the frozen start.